

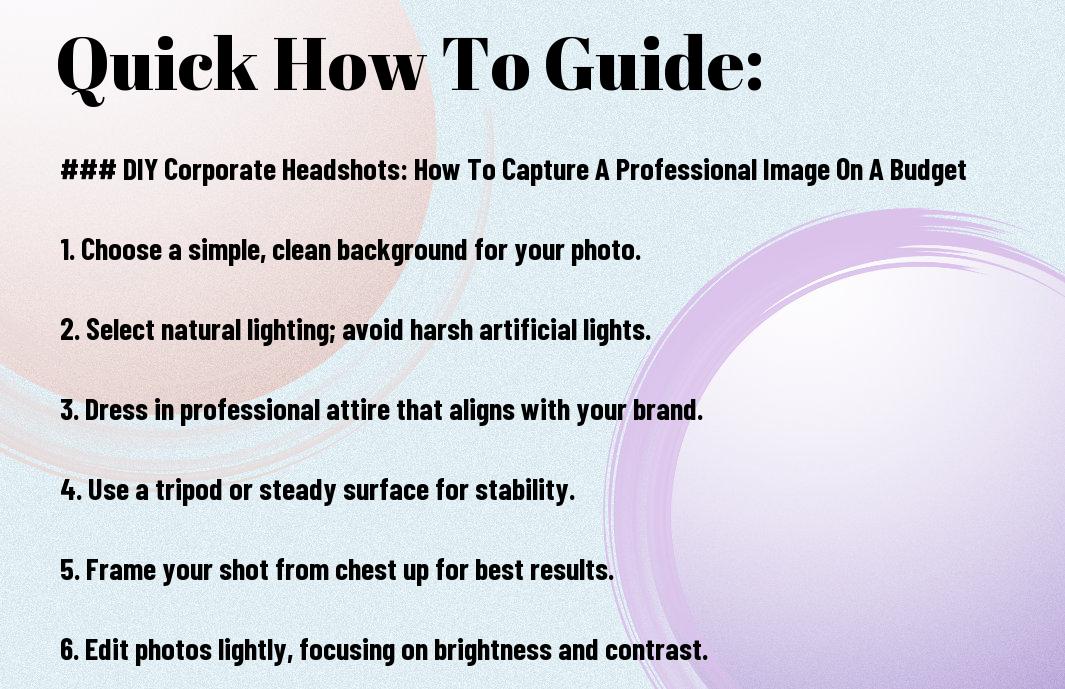
Just because you’re on a budget doesn’t mean your corporate headshot needs to suffer. In this guide, you’ll learn how to create stunning professional images that showcase your personality and professionalism without breaking the bank. From setting up the perfect backdrop to choosing the right lighting and camera techniques, you can capture a polished image that enhances your personal brand. With a few simple tips and tricks, you’ll be ready to impress potential clients and employers with your DIY corporate headshot.
Understanding Corporate Headshots
While many may view corporate headshots merely as a formality, they play a significant role in establishing your professional image. A well-executed headshot not only promotes your personal brand but also conveys trust and authority to potential clients and employers. In today’s competitive job market, having a polished and professional headshot can enhance your online presence on platforms like LinkedIn and company websites, making it an vital investment for your career growth.
Importance of Professional Imagery
Little do many realize, but your first impression often happens online through your profile picture. A professional headshot can help you stand out amongst numerous competitors, showcasing your dedication and professionalism. With a quality image, you foster a sense of confidence in your skills and abilities, making prospective clients and employers more likely to engage with you.
Key Factors in Headshot Photography
Some important elements make a significant difference in the quality of your headshot. Focus on the following factors to ensure you capture the best image:
- Lighting – Use natural light or soft, diffused light sources.
- Background – Choose a clean and uncluttered backdrop.
- Attire – Wear professional clothing that aligns with your industry.
- Expression – Maintain a friendly and approachable demeanor.
Knowing these key factors can significantly enhance the outcome of your headshot.
A well-chosen setting and appropriate attire contribute greatly to framing your image effectively. Take time to choose backgrounds that reflect your profession, avoiding distractions that take focus away from you. Aim for solid colors or simple textures, as these can complement your outfit. Ensuring your facial expression communicates confidence and approachability will create a lasting impression.
- Angle – Position the camera at eye level for the most flattering perspective.
- Framing – Ensure your head and shoulders are the focal point.
- Editing – Consider light retouching to enhance your image without altering it.
Knowing how to skillfully apply these factors can help you create a compelling headshot that resonates with your audience.

How to Plan Your DIY Headshot
Some planning is crucial for achieving a great DIY headshot. Start by considering what kind of image you want to project, then gather the necessary tools and information to make it happen. Take the time to map out every aspect of the shoot, including budget, location, and wardrobe, ensuring you capture an image that represents you professionally while being mindful of costs.
Setting a Budget
To effectively manage your DIY headshot project, begin by setting a clear budget. This will help you identify how much you can allocate for equipment, props, and even post-editing services. Aim to utilize resources that you already have at your disposal while also considering minimal expenses for additional enhancements that could improve the final outcome.
Choosing the Right Location
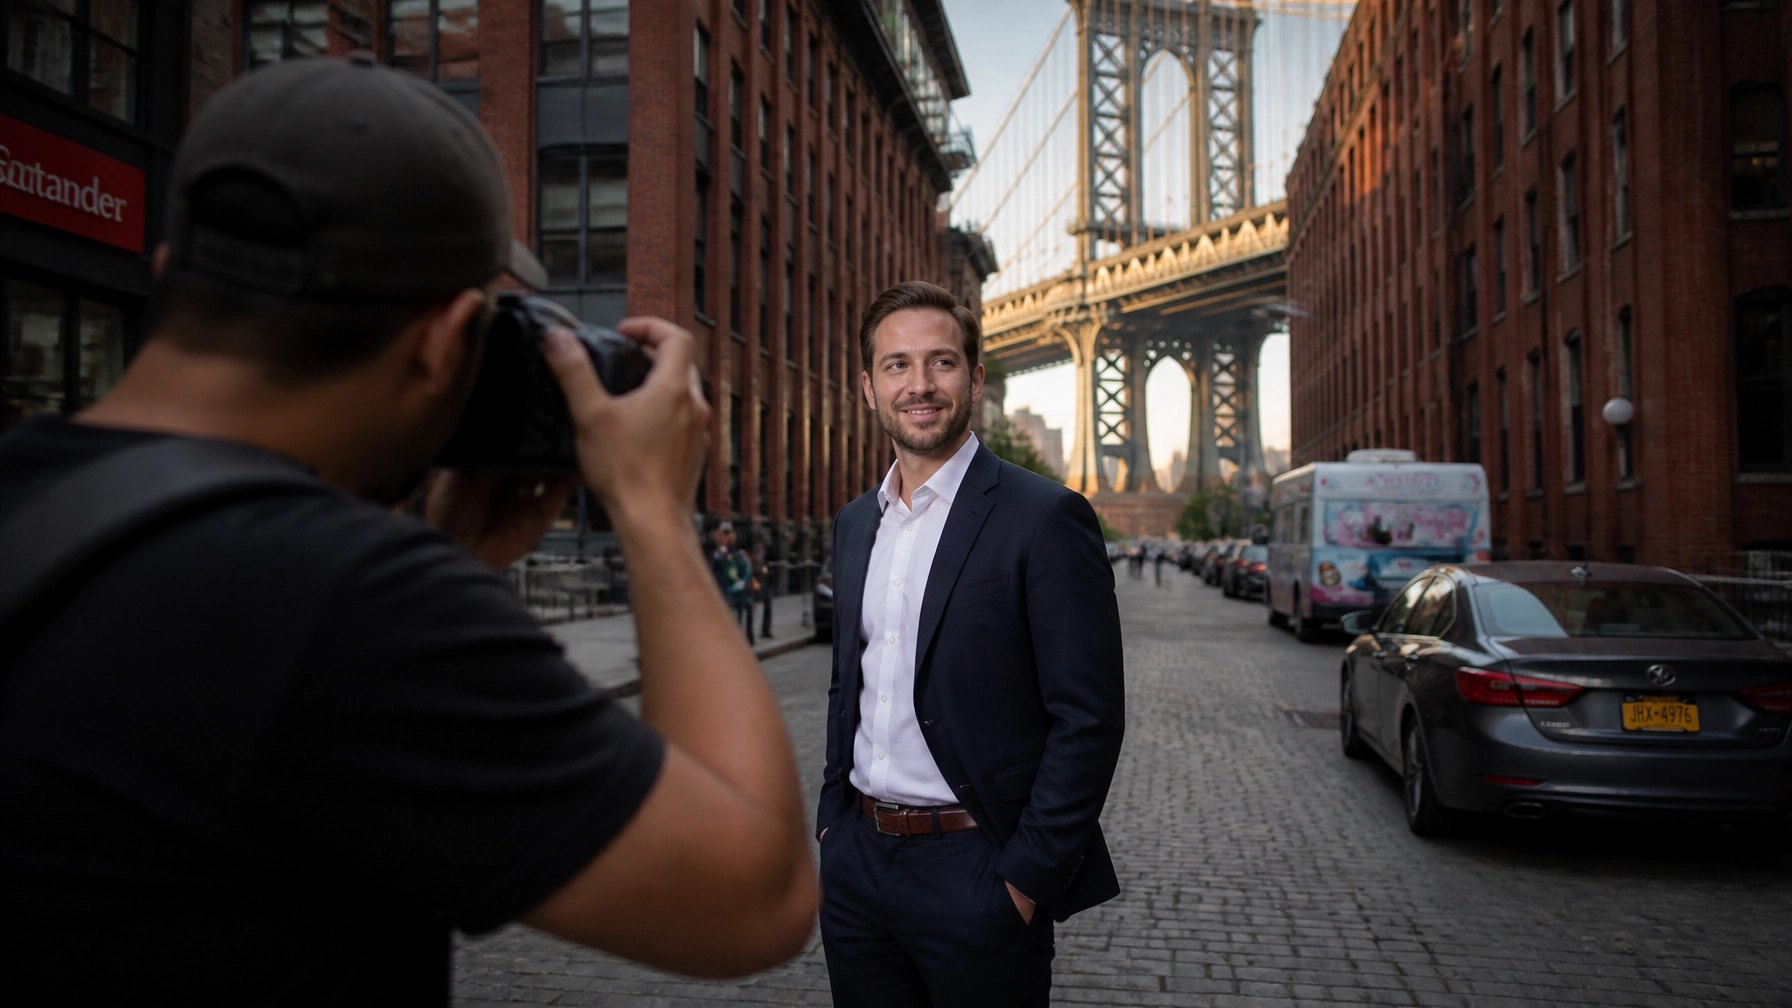
There’s a wide range of options when selecting the perfect location for your headshot. Whether indoors or outdoors, being mindful of lighting, background, and distractions can dramatically impact the quality of your image. Look for spaces that complement your personal brand, keeping in mind the overall message you want to convey.
Choosing the right location involves evaluating various factors such as lighting, background aesthetics, and the overall atmosphere. Well-lit areas, especially those with natural light, can significantly enhance your image. Look for plain backgrounds that will not distract from your face and ensure the environment aligns with your professional image. Local parks, a simple wall, or an uncluttered indoor setting can provide a fantastic backdrop without requiring hefty expenses.
Equipment and Setup Tips
Once again, keeping your budget in mind, you can achieve a professional look with the right equipment and setup. Here are some tips to guide you:
- Select a decent camera or smartphone.
- Use natural light wherever possible.
- Choose a neutral background.
- Stabilize your camera with a tripod.
- Consider additional lighting sources if needed.
Assume that with thoughtful preparation, you’ll capture striking corporate headshots.
Camera and Lighting Essentials
An effective headshot relies heavily on the camera and lighting. Opt for a DSLR or a smartphone with a robust camera. Use soft, even lighting – the best option is natural light, ideally from a window. If you’re indoors, avoid harsh overhead lights and shadows. Consider using reflectors or additional light sources to enhance your subject’s features.
Using Smartphone Capabilities
Little do many know that smartphones are equipped with powerful cameras that can produce impressive headshots. Utilize features such as portrait mode, which blurs the background, emphasizing your subject. Ensure you have a stable grip or use a tripod for clear images.
Capabilities of modern smartphones extend beyond simple photography. Dive into your camera app settings and adjust features like exposure and focus. Consider using external apps that offer advanced editing tools and filters to refine your photos post-shoot. With proper lighting and a steady hand, your smartphone can deliver stunning corporate headshots that rival professional setups.

Posing Techniques for Professional Results
Your pose can greatly influence the professional impact of your headshot. Stand tall with your shoulders back to project confidence. Angle your body slightly to the side while keeping your face toward the camera. This not only adds depth to your photo but also helps you appear more approachable. Practice your poses in front of a mirror before the shoot to find angles that highlight your features and convey professionalism.
Finding Your Best Angle
Assuming the right angle is key to achieving a flattering headshot. Experiment with different positions by tilting your head slightly or shifting your weight from one foot to the other. This not only helps define your jawline but can also enhance your overall look. Taking the time to find your best angle can make a significant difference in the final image.
Body Language and Expression
If you want to communicate confidence and approachability in your headshot, your body language and expression are important. A genuine smile or a relaxed expression will help create a connection with viewers. Avoid stiff postures; instead, keep your arms relaxed at your sides or gently crossed. This natural ease will reflect well in your photos.
Angle your body slightly and maintain an open posture to convey warmth. Your face should radiate positivity, so practice smiling naturally before your session. A subtle shift in expression can enhance your image dramatically; try varying your smile or expression slightly for a range of looks. Capturing a comfortable, confident demeanor will elevate your headshot’s professionalism significantly.
Editing Your Headshot Like a Pro
Keep in mind that quality editing can elevate your headshot from good to great. Using simple techniques and tools, you can enhance your image to reflect professionalism. Focus on minor adjustments for clarity, color balance, and sharpness to ensure that you present your best self, even on a budget.
Basic Editing Tools and Software
Little known to many, there are various free and affordable editing tools available that can help you refine your headshot. Software like GIMP, Canva, or even your smartphone’s editing features allow you to make straightforward adjustments without breaking the bank.
Adjusting Colors and Backgrounds
Colors can significantly impact the mood and professionalism of your headshot. By adjusting brightness, contrast, and saturation, you can create a more polished look. Additionally, utilizing tools to blur or remove distracting backgrounds is important in keeping the focus on you.
Another key aspect of enhancing your headshot is ensuring that the colors align with your professional image. Brightening your face while subtly toning down any harsh backgrounds can draw attention to you as the subject. Employing these adjustments gives your headshot a clean, cohesive look that resonates with potential employers or clients. Aim for a color palette that reflects your industry while ensuring that you stand out attractively in the frame.

Common Mistakes to Avoid
For your DIY corporate headshots to effectively convey professionalism, it’s vital to steer clear of common pitfalls. Issues like poor lighting, distracting backgrounds, and unkept attire can all detract from the polished image you aim to present. By being aware of these mistakes, you can ensure your headshots are suitable for use across a variety of platforms, from LinkedIn profiles to company websites.
Lighting Issues
Common lighting mistakes can make or break your headshot. Poorly lit photos may appear flat or shadowy, taking away from your facial features and professional demeanor. Natural light is often your best friend, so choose a spot where you can harness it effectively, minimizing hard shadows and overly bright spots.
Distracting Background Choices
You should be mindful of your background when taking a headshot, as it plays a significant role in the overall impact of your image. An unprofessional or overly busy backdrop can divert attention from you, undermining your intended presentation.
Avoid backgrounds that include clutter or distracting elements, such as busy patterns, bright colors, or random objects. Opt for neutral or solid-colored walls for a clean look. If you’re outdoors, consider natural settings like parks or buildings that won’t overwhelm the viewer’s eye. A well-chosen background complements your image, helping to establish a strong, professional presence.
Conclusion
Drawing together all the insights from this guide, you now have the tools to create impressive corporate headshots without breaking the bank. By paying attention to lighting, background, and wardrobe, you can showcase a professional image that aligns with your brand. Utilize your smartphone or a simple camera, apply effective editing techniques, and experiment with angles to capture your best self. With these tips, you can confidently represent your professional persona while staying within your budget.


Leave a Reply
You must be logged in to post a comment.