
Just getting started in wedding photography can be overwhelming, especially when it comes to balancing shadows and light. Mastering this art will not only enhance your images but also evoke emotions that capture the unforgettable moments of the day. In this guide, you’ll discover techniques to manipulate lighting for stunning results, ensuring that your photographs truly represent the beauty of the occasion. Understanding natural light and how to use it will elevate your skills, giving you the confidence to create breathtaking images that your clients will cherish forever.
Key Takeaways:
- Understand the direction of natural light and how it interacts with your subjects to create depth.
- Utilize reflectors or diffusers to soften harsh shadows and balance the lighting in your shots.
- Experiment with different angles to find the most flattering perspectives for your subjects during different times of the day.
- Post-process your images to enhance the harmony of light and shadow, adjusting contrast and exposure where needed.
- Practice shooting in varied lighting conditions to develop your skills and instinct for managing shadows and highlights effectively.
Decoding the Dance of Light and Shadow
Understanding the interplay of light and shadow is fundamental in capturing stunning wedding photography. Shadows can add depth and dimension to your images, creating a rich visual narrative. By adjusting your positioning and angles, you can manipulate the light source to create dynamic contrasts. This delicate balance not only enhances the emotional tone of your photographs but also brings out the unique characteristics of the wedding venue, ensuring each shot resonates with beauty and artistry.
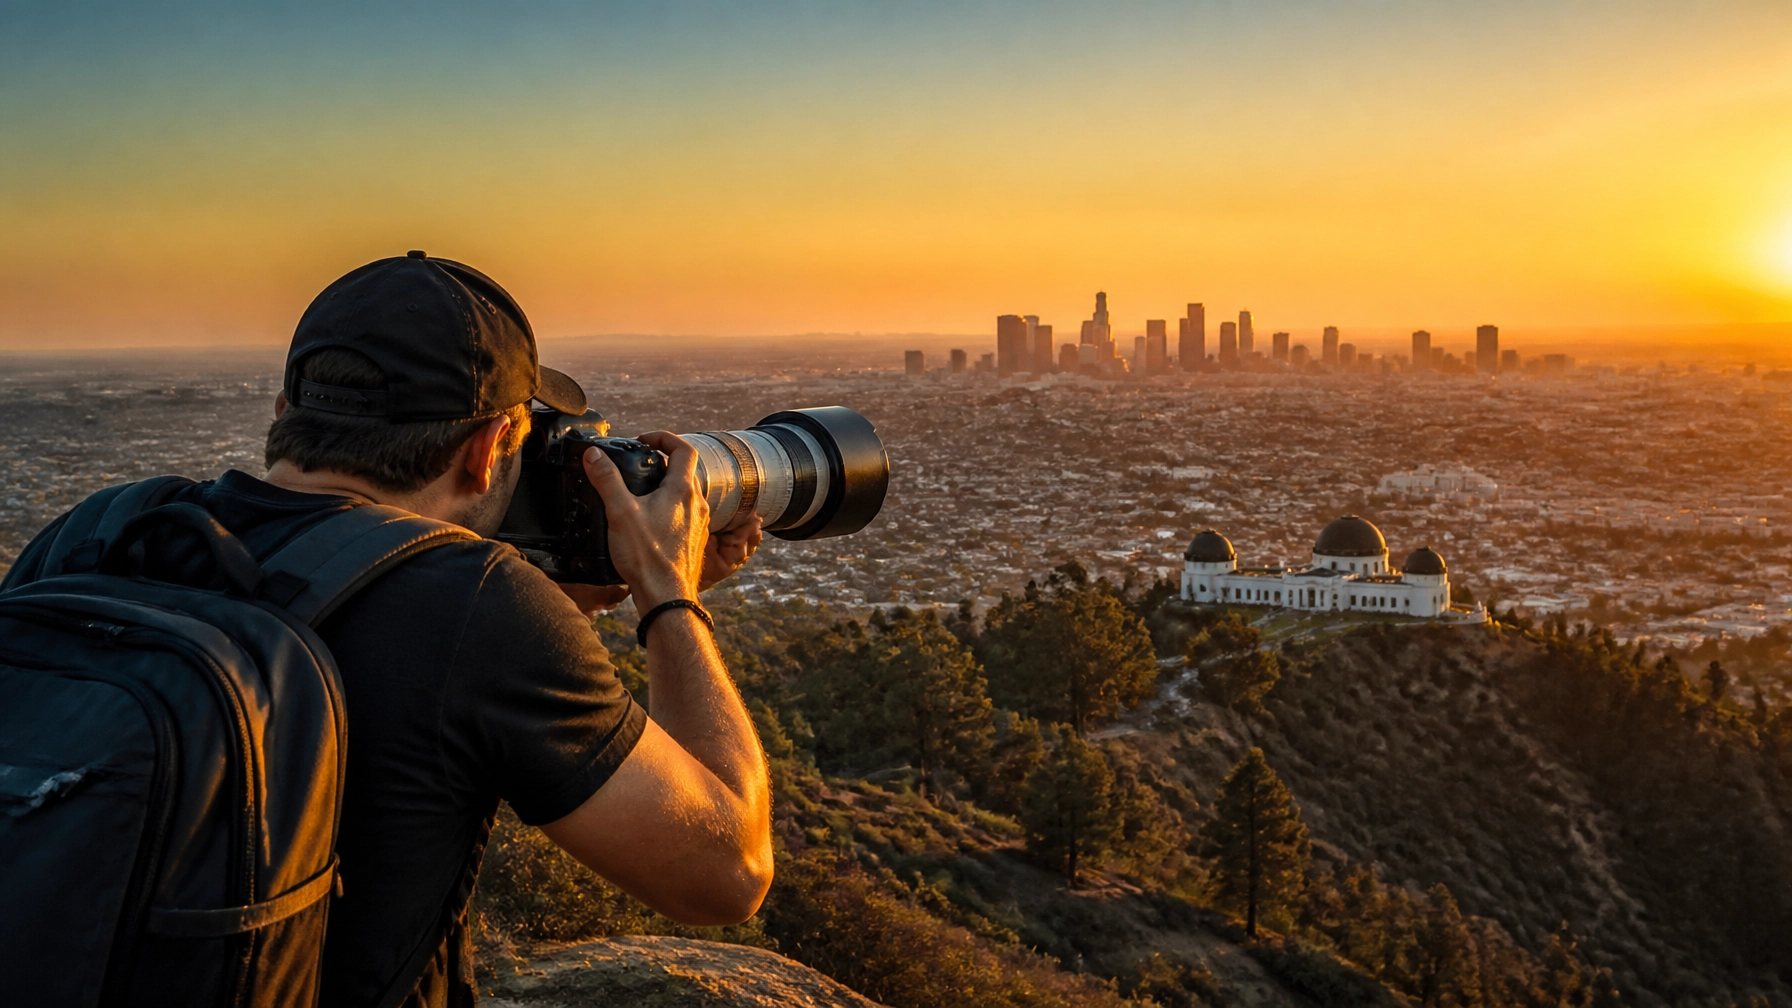
The Role of Natural Light in Wedding Settings
Natural light serves as your greatest ally in wedding photography, infusing your shots with authenticity and warmth. Utilizing soft, diffused light during outdoor ceremonies or the golden hour at sunset can yield breathtaking images. You can create a romantic atmosphere by capturing candid moments with natural light that highlights your subjects naturally, producing enchanting results that post-processing alone cannot replicate.
The Influence of Time and Location on Lighting Conditions
Time of day and location dramatically shape lighting conditions. Morning ceremonies often benefit from softer light, while midday can cast harsh shadows. Evening receptions, particularly during sunset, offer a golden hue that enhances skin tones. Each setting, whether it’s a beach, garden, or a grand hall, presents unique lighting challenges and opportunities that you should embrace to tailor your photographic approach.
For instance, if you’re shooting at a beach during high noon, the sun can create extreme shadows, making it challenging to capture flattering portraits. In contrast, a garden at sunset may showcase dappled light filtering through leaves, providing a magical ambiance for your compositions. Planning your shooting schedule around the specific qualities of each location can make all the difference in obtaining those captivating, harmonious images that every couple dreams of. Also, scout locations in advance to identify the best angles and times for optimal light, enabling you to work effectively and creatively on the wedding day.

Mastering Exposure Settings for Impact
Getting a handle on exposure settings transforms the way you capture moments, allowing you to emphasize the interplay of shadows and light. Understanding how each setting influences your images is key to creating stunning photographs. Mastering exposure not only enhances the beauty of your images but also adds drama and emotion to your storytelling, ultimately ensuring that your wedding photography resonates with the couple and their loved ones.
Balancing Aperture, Shutter Speed, and ISO
The triangle of aperture, shutter speed, and ISO is your best friend in wedding photography. Adjusting the aperture affects the depth of field, allowing you to highlight subjects against artfully blurred backgrounds. Shutter speed helps freeze motion or create a sense of motion, while ISO determines light sensitivity, impacting the overall brightness of your images. Keeping these elements in harmony ensures balanced exposure that captures the essence of the wedding day.
Practical Tips for Avoiding Overexposure and Underexposure
Avoiding overexposure and underexposure can significantly improve your wedding photography. Use your camera’s histogram to evaluate exposure levels accurately. In bright conditions, underexpose slightly to prevent loss of highlight details, while in low light, utilize a higher ISO for clarity. Experimenting with bracketing can also help you capture a range of exposure, which you can later choose from during post-processing. This will enhance your ability to create visually impactful images.
- Use the camera’s histogram to monitor exposure.
- Underexpose slightly in bright conditions to retain highlight details.
- Increase ISO in low light for clarity.
- Experiment with bracketing for better exposure choices.
Addressing exposure concerns requires a few practical techniques to ensure your wedding photos shine. Adjusting ISO higher can sometimes introduce grain, so find a balance between clarity and light sensitivity. Consider using natural reflectors like white walls or light-colored surfaces to bounce light onto darker areas. Always review your images after shooting, allowing quick adjustments to settings for subsequent shots. This proactive approach to managing exposure makes a notable difference in capturing unforgettable moments at the wedding. This way, you will create photographs that the couple will cherish forever.
- Adjust ISO for a balance between clarity and light.
- Utilize natural reflectors to enhance shadows.
- Regularly review images for immediate adjustments.
- Create a checklist for exposure settings during shoots.

Utilizing Reflectors and Diffusers to Enhance Illumination
Reflectors and diffusers can transform harsh lighting into a more flattering glow in wedding photography. By bouncing or softening light, they allow you to create images imbued with warmth and romance. A well-placed reflector can fill in shadows on your subjects while diffusers help to eliminate unflattering hot spots and sharp contrasts. Whether you’re shooting portraits during golden hour or capturing candid moments in bright daylight, mastering these tools will elevate your photos and allow you to harmonize light and shadow effectively.
Choosing the Right Reflector for Different Scenarios
Selecting an appropriate reflector depends on your shooting conditions and the desired effect. A white reflector provides a soft and natural fill, perfect for subtle enhancements in shaded areas. For a more dramatic bounce, gold reflectors impart a warm glow that works beautifully during sunset. In contrast, silver reflectors deliver a brighter, sharper look, ideal for overcast days or situations where you need to counteract strong shadows. Understanding these nuances will enable you to make informed choices that suit your artistic vision.
Creative Ways to Use Diffusers for Softening Light
Using diffusers isn’t just about placing them in front of a strong light source; they can create wonderfully soft effects that enhance the emotional resonance of your wedding shots. Consider freehand techniques, like using a diffuser held at an angle above the couple to create a dreamy halo effect. Alternatively, placing diffusers between the sun and the bride and groom can yield even light distribution, making them stand out against a softly illuminated background. Experimenting with sizes and materials—like translucent fabric or commercial diffuser panels—can lead to striking, ethereal quality in your photographs.
Additionally, you can creatively position diffusers to reshape light direction. For instance, holding a large diffuser close to your subjects on windy days can minimize harsh glare while softening skin tones. In closed settings, such as under a tent, a diffuser can help control intense overhead lighting, ensuring your subjects maintain a soft focus. The more you experiment with different angles and setups, the more you’ll discover unique ways to make light an ally in your storytelling through photography.
Cultivating a Sharp Eye for Composition
Composition forms the backbone of stunning wedding photography. You’ll find that a well-composed shot draws attention, guiding the viewer’s gaze naturally through the frame. It’s about finding the right balance between light and shadow, while also considering elements like symmetry, rule of thirds, and negative space. As you practice, pay close attention to how each component interacts; practice makes sharper, more instinctive decisions in dynamic environments like weddings.
Integrating Shadows and Light in Framing
Shadows and light can serve as powerful compositional tools. By integrating them into your framing, you create a narrative within your image. Consider positioning your subjects in a way that highlights their faces while allowing intentional shadows to add depth. This contrast can evoke emotions and underscore the moment, ensuring that your photos resonate with those viewing them.
Harnessing Leading Lines and Textures to Create Depth
Leading lines act as visual arrows, directing your viewer’s eyes toward focal points within your images. Incorporating textures—like the intricate lace of a bride’s dress or the rough bark of a tree—enhances the sense of depth in your photographs. This technique brings not just clarity but also an emotional reflection of the day, anchoring your subject visually within their surroundings.
Explore elements within your wedding settings that can function as leading lines, such as pathways, fences, or even the arrangement of guests’ bodies. Harnessing textures can enrich your images, with contrasting surfaces like smooth fabrics against rustic wood accentuating the visual narrative. Combining these aspects does more than beautify your shots; it allows you to craft immersive stories that convey the essence of a couple’s special day. As you practice these techniques, your skills will evolve, and depth will become an implicit part of your photographic style.

The Art of Editing: Bringing It All Together
Editing serves as the bridge between your captured images and the breathtaking final product. Mastering the editing process allows you to harmonize shadows and light seamlessly, enhancing the mood and emotion inherent in wedding photography. With the right techniques and tools, you can elevate your images from good to extraordinary, ensuring every precious moment is beautifully preserved.
Techniques for Adjusting Light and Shadows in Post-Processing
Employing techniques such as curve adjustments, selective exposure, and shadow recovery can significantly enhance your wedding photographs. For instance, using the curves tool allows you to manipulate both highlights and shadows, striking a perfect balance. Additionally, local adjustments can create depth, ensuring that crucial features stand out while softer details fade into the background.
Essential Editing Tools for Enhancing Wedding Photos
Editing becomes a breeze with the right tools at your disposal. Popular software options include Adobe Lightroom and Photoshop, which offer powerful features like advanced color correction, batch processing capabilities, and high dynamic range (HDR) adjustments. Each tool provides unique functionality that can transform your wedding images into visual narratives.
For enhancing wedding photos, Adobe Lightroom pairs intuitive user interfaces with potent editing options, allowing you to adjust exposure, white balance, and contrast with ease. Its cataloging system helps you manage multiple shoots effortlessly. Photoshop complements this by providing detailed retouching capabilities and advanced compositing features. Both tools together create a comprehensive workflow that ensures a polished finish, enhancing every moment captured on that special day.
Final Words
With these considerations, you can effectively harmonize shadows and light in your wedding photography, enhancing the emotional impact of your images. Pay attention to your environment, utilize natural and artificial light creatively, and practice adjusting your settings for optimal exposure. Experiment with angles and compositions to find the perfect balance, and don’t hesitate to seek feedback to refine your skills. Embrace the learning process, and soon, you’ll create stunning visuals that beautifully tell the love story of each couple.
FAQ
Q: What are the basic principles of light and shadow in wedding photography?
A: In wedding photography, understanding light and shadow is fundamental for creating depth and dimension in your images. Light can be soft or hard, depending on its source and angle. Soft light usually occurs on overcast days or with diffused sources, creating gentle shadows. Hard light, from a direct source like the sun during midday, casts sharp, defined shadows. A skilled photographer uses these qualities to their advantage, balancing shadows and highlights to enhance the emotional quality of the captured moments.
Q: How do I find the best lighting conditions for wedding photography?
A: The best lighting conditions depend on the time of day and location. The golden hour, which occurs shortly after sunrise or before sunset, offers a warm, soft light that flatters skin tones. When scouting locations, look for shaded areas that provide diffused light, especially in harsh sunlight. Avoid overly bright or dappled light, as it can create unflattering shadows. Communicate with the couple about their expectations so you can plan lighting situations that enhance your shooting style.
Q: Can I use reflectors and diffusers to improve my lighting situation?
A: Yes, using reflectors and diffusers can significantly enhance the quality of light in your wedding photos. Reflectors bounce light back onto your subjects, filling in shadows and creating a more even distribution of light. Diffusers soften harsh light, making it more flattering. You can purchase portable reflectors and diffusers or create DIY versions to use during the wedding day, especially during outdoor sessions.
Q: How can I post-process shadows and light effectively in my images?
A: Post-processing is an crucial part of modern wedding photography. Software like Adobe Lightroom or Photoshop allows you to adjust shadows and highlights in your images. Use the ‘Shadows’ slider to recover detail in darker areas and the ‘Highlights’ slider to bring down overly bright sections. Be careful not to overdo it—maintaining a natural look is key. Employing masks can also help you selectively enhance sections of the image without affecting the whole composition.
Q: What are some common mistakes to avoid when balancing shadows and light in wedding photography?
A: There are several mistakes to watch for. One common error is not paying attention to the direction of light, which can result in unflattering shadows across your subjects’ faces. Another mistake is over-exposing or under-exposing images, leading to loss of detail in highlights or shadows. Also, avoid relying too much on artificial lighting, which can create harsh shadows if not used properly. Strive to find a healthy balance between natural and artificial light sources to ensure your images reflect the day’s ambiance.

Leave a Reply
You must be logged in to post a comment.